I got it,
I did everything from scratch again, but made sure before even beginning the tutorial in the article I did the following on the server and client:
/etc/hosts
192.168.2.5             puppet-db.apt15 puppet-db
192.168.2.4             puppetmaster.apt15 puppetmaster puppet
127.0.0.1               localhost.localdomain localhost
::1             localhost6.localdomain6 localhost6
/etc/sysconfig/network
Set hostname to [server name].apt15
yum install ntp
ntpdate pool.ntp.org
ntpd
shutdown -r now (then login)
setenforce 0
Then start tutorial
I also had to use puppetd --server myserver.domain.com --waitforcert 60 --test from the documentation instead of the lines in the guide to get the certificate signed and accepted.
You need to add the noauto option to the filesystem in your fstab. That will prevent the automounter, or anything that calls or simulates a mount -a, from mounting it. However, since auto is part of the defaults option set, you should replace it entirely with the explicit options, minus auto. Pulling the full set from the man page, your new entry should look something like:
/dev/mapper/luks-4fa25d53-0dcd-44ab-9f4d-bee5d6f90fce /sec ext4 rw,suid,dev,exec,nouser,async,noauto 1 2
Now, whether including dev, suid, and exec are appropriate for your file system is something you should consider.
Best Answer
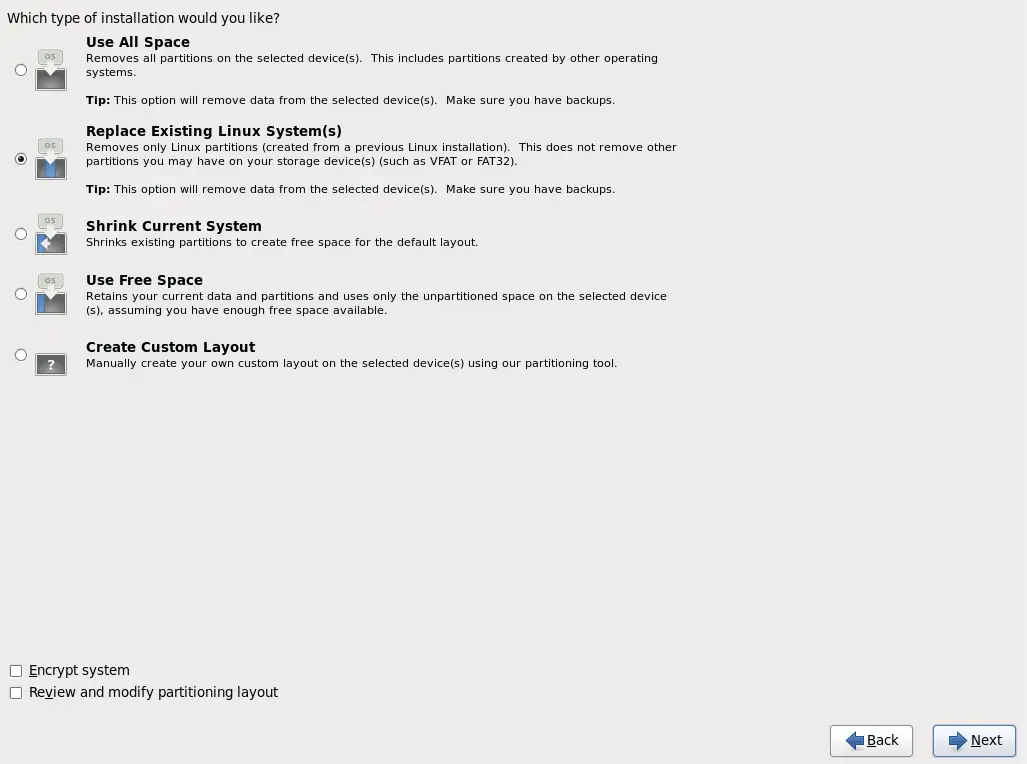
Use the "Create a custom layout" and just make the partitions yourself. I had to do an install yesterday with the exact configuration, and the custom layout was the only one that worked. Just make a small swap partition and the rest mounted as "/".